How to Upload a Property
When adding properties to UniHomes, it's important to meet a number of criteria. Firstly, all properties should be advertised for students/young professionals. Secondly, UniHomes manage all the bills, so no comments on Wi-Fi or bills packages are needed.
Also, all properties added to UniHomes need to be on their own gas and electricity metre.
Steps on how to upload a property
- Open the letting agent portal and log in.
- Navigate to the properties page.
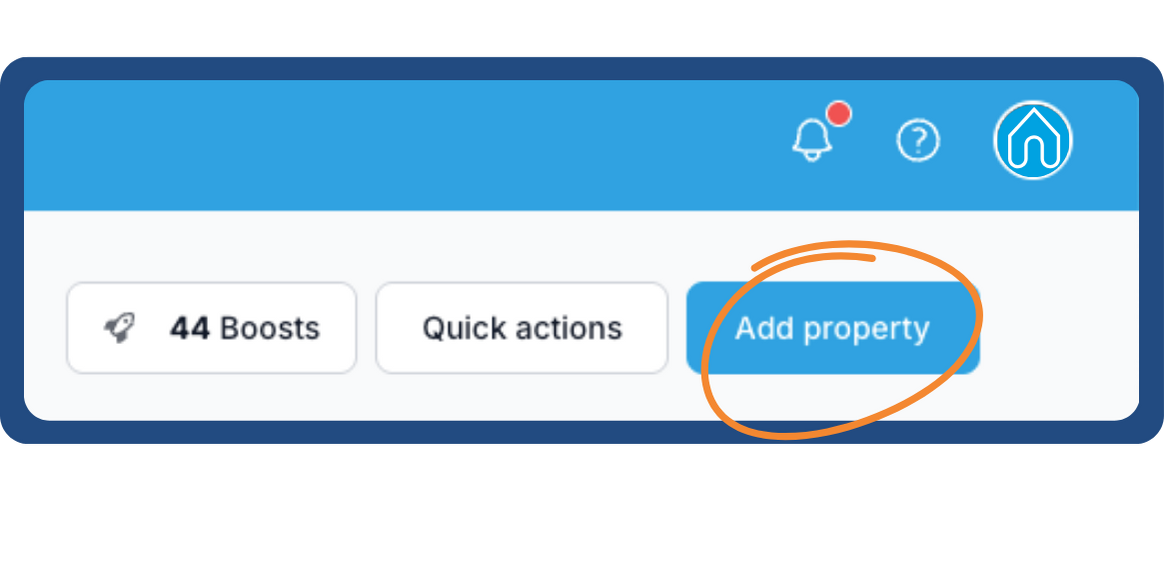
- Click the 'Add property' button in the top right corner, or click here.
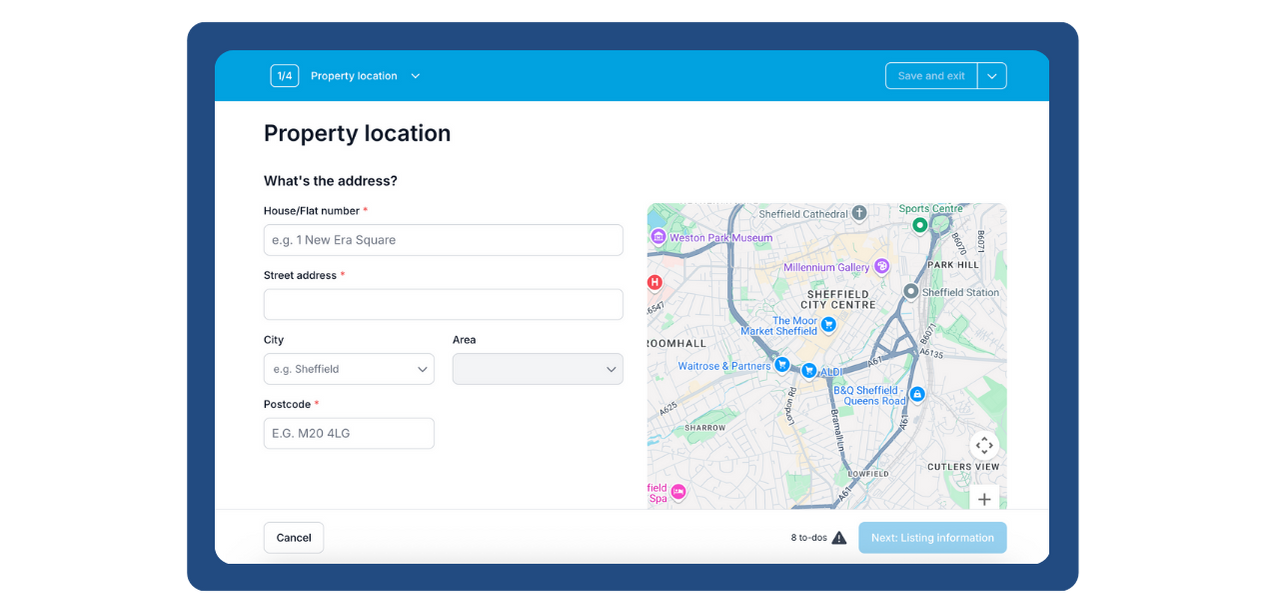
- Fill in the address of your property and click the 'Next: Listing information' button to progress.
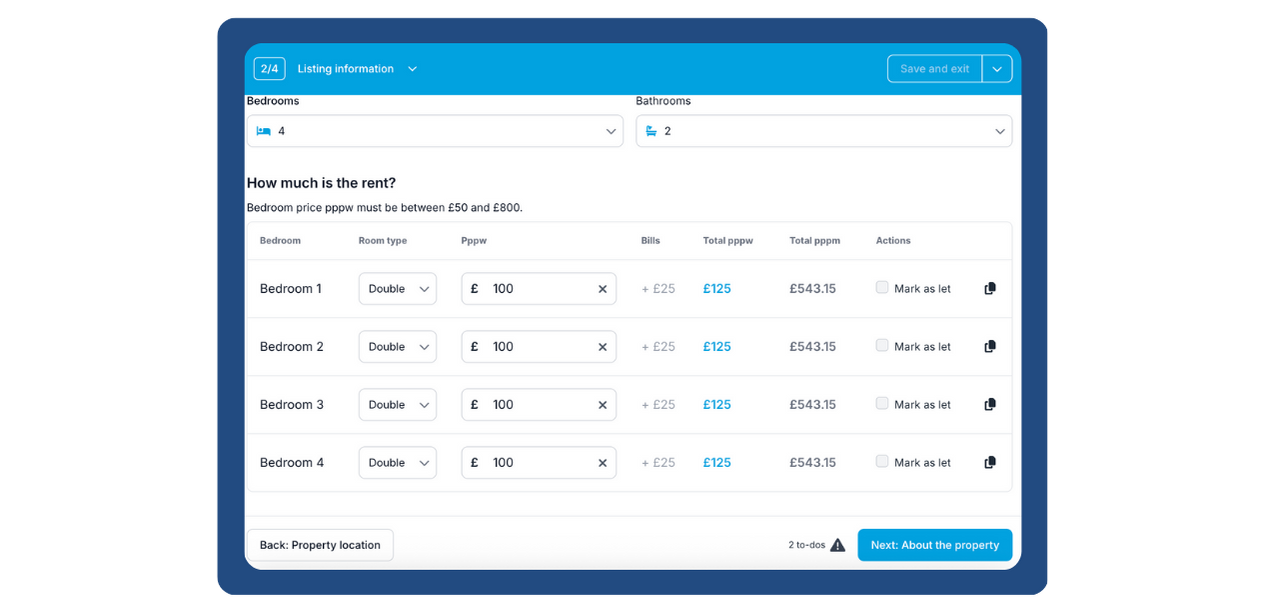
- Next, add in key information about the the property, including the availability dates, number of rooms, and price. Once completed, click "Next: About the property" to continue to the next screen.
- Note: Use the cost of the rent per person, excluding bills. We'll automatically add the cost of bills onto the rent.
- The following screen will ask you to provide detailed information on the property and its features, nearby universities, and any amenities that you feel students might find attractive, such as supermarkets, cafés and fun activities.

- Next, you'll be able to upload your property's photos along with any other media you may have such as a floorplan, or a 3D walkthrough.
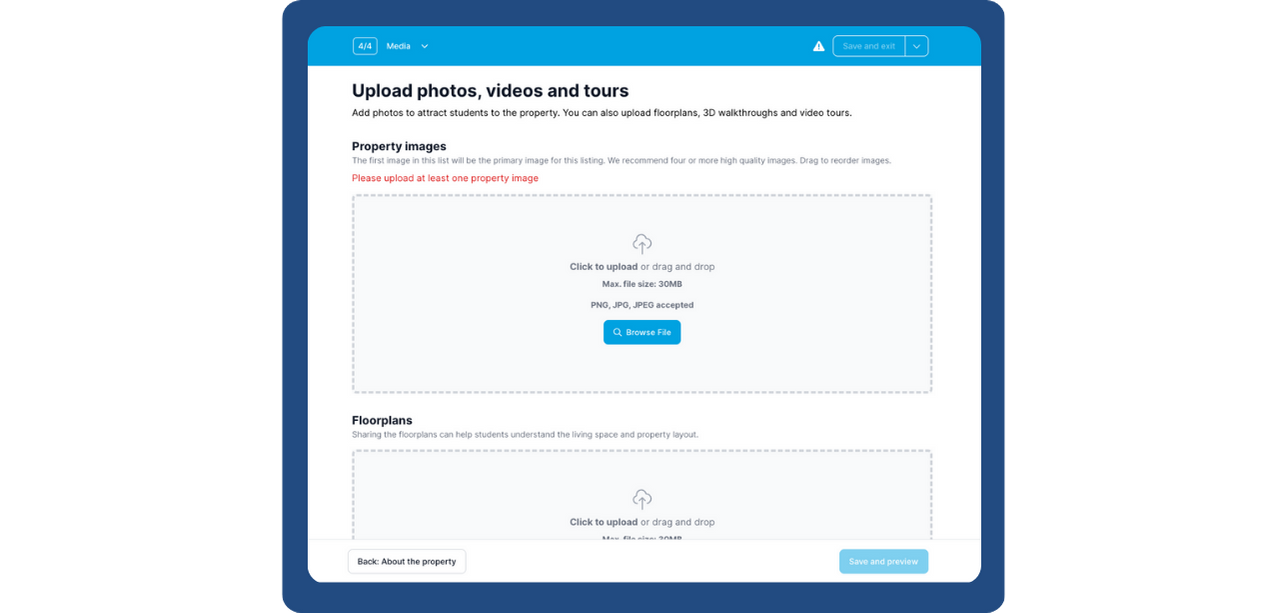
- Finally, click the 'Save and Preview' button in the bottom right-hand corner, or if you would prefer, choose to 'Save and exit', or 'Save and continue editing'.
- Once you return to the properties page, you change the status of the property by using the 'All actions' button on the right hand side of the properties table. If you would like to see what the listing looks like on the UniHomes website, click 'Preview'.
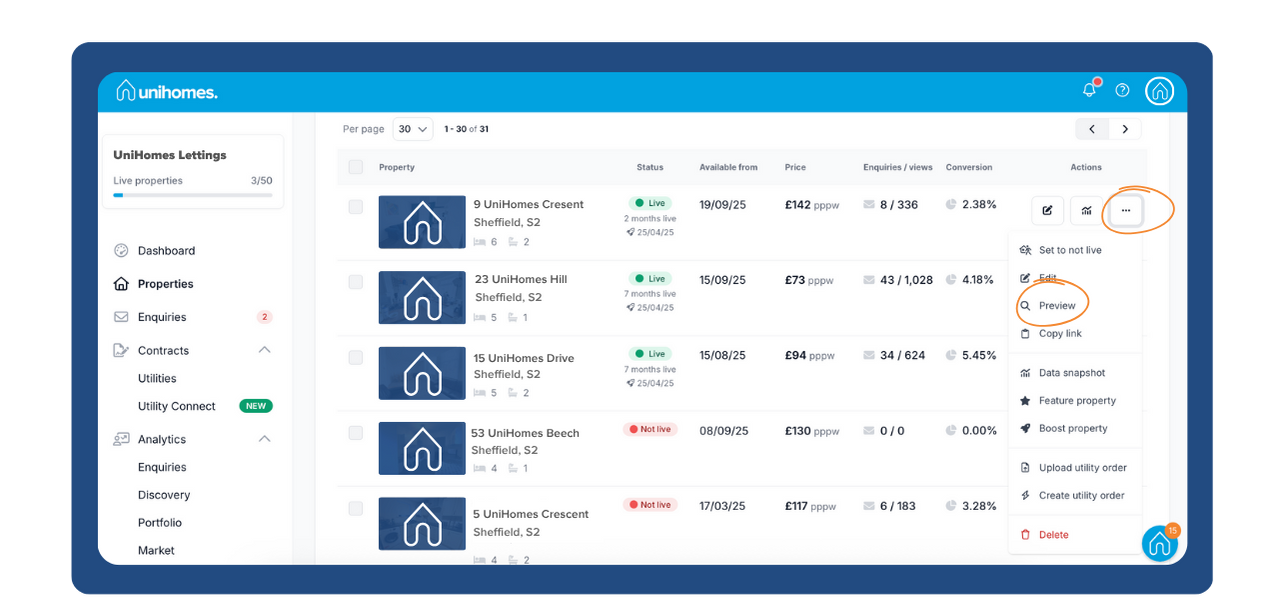
- To view the listing, head to your city on the UniHomes site. Your property will be at the top of the page.
Importing properties from a spreadsheet
If your account is not connected to a property data feed (e.g. Jupix or Alto), you can use the use the bulk property importer you can copy and paste from a spreadsheet.
The minimum required data is a postcode and an address. The address can be split into house number, street, city, etc. or be a single line full address.
